The Grid Designer provides a full-range of drawing tools. In this, part 1 of a four-part post, I take you through the Grid Designer’s draw and erase tools. I cover additional drawing tools in the next 3 parts:
Additional Information
You can see the tools in action in the Overview – Drawing Tools youTube video which you can launch by clicking here.
In addition, more information about the Drawing Tools is available in the main documentation.
Getting Started
You can start the Grid Designer by going to www.freese-works.com/griddesigner. When the Grid Designer opens, the “default project” loads and the screen looks like this:
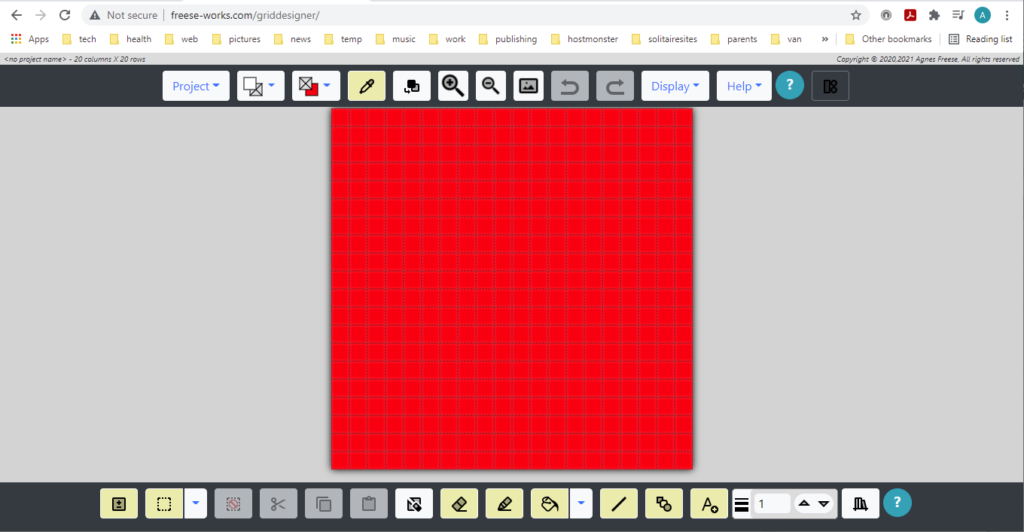
The default project provides a place to play with the tools before starting your own project. This project will be good enough to cover the drawing tools described in this post.
If you want to edit in the designer as I explain each tool, feel free to open the designer now. It will open in a separate window by clicking here and you can switch back and forth between this window and the designer to read about and try out the tools as I go through each one.
Drawing Tools
At the top and the bottom of the Grid Designer screen are menus/buttons. The drawing tools are located in the middle of the bottom toolbar. They have a light-gold background.

The background color actually means something. Gold buttons start some action that involves using the mouse on the grid. Sometimes a dialog will popup before you do anything with the mouse.
Draw and Erase
The first two tools on the left are the eraser and the pencil/draw tools. Like you would expect, the eraser erases and the pencil draws! But, what colors do they draw and erase with?
We need at least two colors and indeed, there are two colors you can set, the foreground color and the background color. The foreground color is primarily used to draw with. The background color is primarily used to erase with.
Setting Colors
The foreground and background colors can be selected from dropdown menus located on the left side of the top toolbar ![]() . In the default project the foreground color (drawing color) is pre-set to white and the background color (erasing color) is pre-set to red. To change either color, just click these buttons. A dropdown will appear to select from.
. In the default project the foreground color (drawing color) is pre-set to white and the background color (erasing color) is pre-set to red. To change either color, just click these buttons. A dropdown will appear to select from.
The selected palette controls the color list that drops down when you select the foreground or background color buttons. The palette of colors associated with the default project is called the “brights” palette. This palette is small, but, for the purposes of showing the drawing tools, we don’t need very many colors. So, we will use the “brights” palette for all four parts of this post.
For further information on palettes see the Changing Palettes and Working with Colors sections of the documentation.
Note that the grid of the default project is pre-filled with the background color, red. This will be true when you create your own projects also.
How to Draw
To draw on the grid, simply click the draw/pencil button. ![]() As explained in the following sections, you may see a hint popup giving you directions for how to draw on the grid, and then the pencil button will turn green and active and you are ready to draw with the mouse.
As explained in the following sections, you may see a hint popup giving you directions for how to draw on the grid, and then the pencil button will turn green and active and you are ready to draw with the mouse.
Hint Popups
If this is the first time you have used the designer, there will be a hint pop-up to tell you what to do next. These popups come up whenever you press a light-gold button and you get to the place where you have to do something with the mouse on the grid.
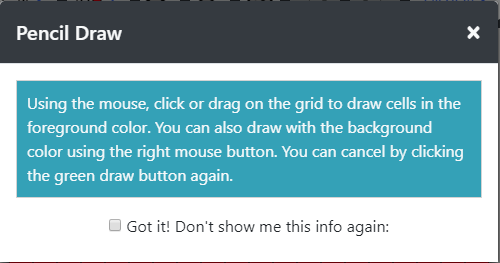
If you want to see the hint again later, then just close the popup with the X on the upper right.
If you don’t want to see the hint again, then click the Got It! checkbox at the bottom of the popup and then click the X on the upper right to close it.
I’m not going to mention these hints again. Just know that you will see them anytime you are using a gold button! You can reset them all to appear by selecting Help -> Enable Hints from the top toolbar if you have turned them off and want to see them again.
Pencil Becomes Active
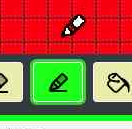
After the popup closes, the pencil button will turn green to show it’s active and you will see a change in the mouse cursor when the mouse is over the grid (if you are not on an iPad or iPhone). It will show a pencil icon where the tip of the pencil, is where you will be drawing. If you do not see a pencil icon, you may be on a browser that does not support custom icons for the mouse. If you want to see that pencil icon, install the chrome browser. It is a free download from google and you can get it by clicking here.
Now you can Draw!
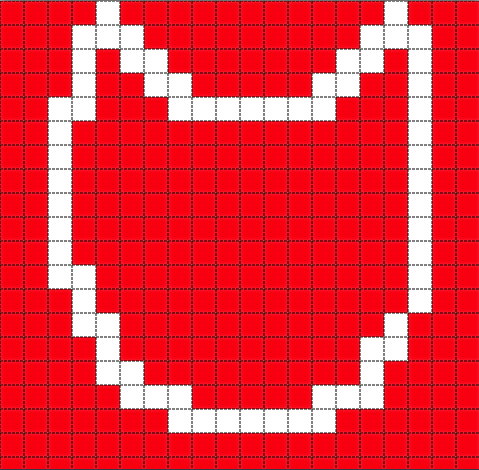
Using the mouse (or your finger if you are on a tablet or phone), draw on the grid, either by clicking on specific cells or dragging the mouse with the left button down. You will see cells filled in with white as you draw. Some things you can try:
- Notice that the left mouse button draws with white and the right mouse button draws with red. This way you can quickly draw with both colors or effectively you are drawing with the left mouse button and erasing with the right mouse button.
- You can set the background color to something else, like blue, then draw white with the left mouse button, and blue with the right mouse button. I call this the two-fingered-fast-draw! Changing the background color does not change the red cells in the grid until you take some additional action.
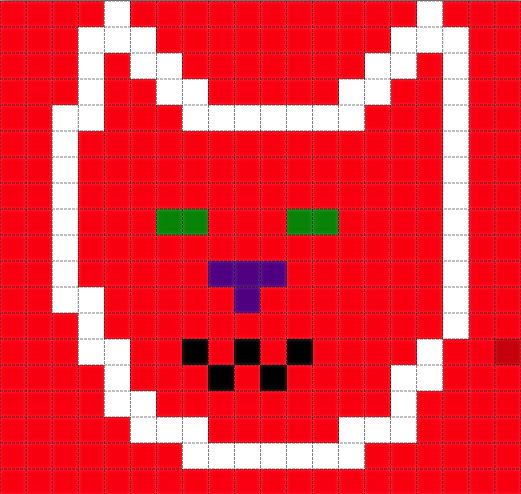
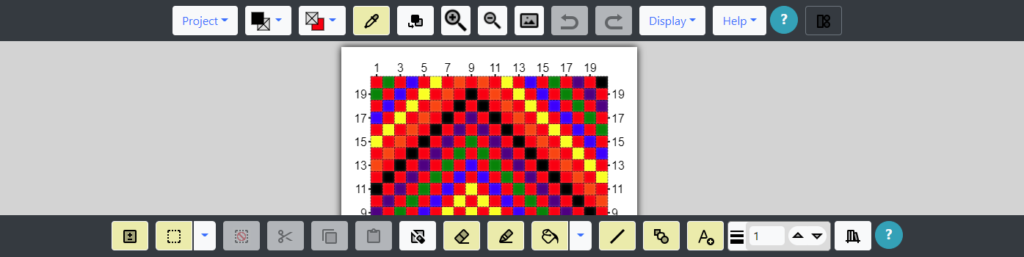
Practice a bit with the pencil. Change the foreground color to other colors and draw with the pencil. I’ve drawn a cat by selecting green, then purple, then black for the foreground color.
Not the greatest cat, but I think it will do just to show how the draw/pencil tool works!
How to Erase
In the previous section we saw that one way to erase is to use the right mouse button with the draw/pencil tool active. This is what I primarily use when I am working on a desktop machine with a mouse. However, on an mobile device, there is no mouse, so I also provide an erase tool.
To use the erase tool, select the erase button ![]() . It will become active (green) and an eraser icon will show on a desktop machine. As you click and drag the mouse (or your finger) on the grid, as you did with the draw/pencil tool, the eraser draws with the background color. It does not matter which mouse button you use, it always draws with the background color.
. It will become active (green) and an eraser icon will show on a desktop machine. As you click and drag the mouse (or your finger) on the grid, as you did with the draw/pencil tool, the eraser draws with the background color. It does not matter which mouse button you use, it always draws with the background color.
More Things to Try
Undo and Redo
If you draw or erase something you don’t want, there are undo/redo buttons on the top toolbar. The undo button will undo your last continuous drawing or erasure. Try them out if you have the grid designer open.

Line Width
The line width setting is located on the right side of the bottom toolbar ![]() . This setting affects the size of the pencil and eraser. It is set to 1, initially. Set it to 2 to make the eraser and pencil draw a 2×2 area on the grid with each click or drag. Set it to 3 to draw 3×3; 4 to draw 4×4 etc. If you have the Grid Designer open, give it a try!
. This setting affects the size of the pencil and eraser. It is set to 1, initially. Set it to 2 to make the eraser and pencil draw a 2×2 area on the grid with each click or drag. Set it to 3 to draw 3×3; 4 to draw 4×4 etc. If you have the Grid Designer open, give it a try!
Erase All
Sometimes you may want to erase everything and start over. There are two primary ways to do this, both of them use the Clear All button on the bottom of the screen. You can also discard everything by clicking the browser refresh button. I describe each of these in detail below.
Clear All with No Selection
Click the Clear All button on the bottom toolbar, with nothing selected. This clears the entire grid and also clears out any project name. Use this option when you want to start a new project with the same size grid as the previous one.
A popup appears to warn you that you are clearing the project name in addition to the grid. If you have not yet named or saved your project, you can use this option to clear safely at any time.
This option cannot be undone.
Clear All with Selection
Select the entire picture first with the Select All option, then click the Clear All button to clear the area only. This will not clear the project name, just the grid. This option can be undone.
Here are the detailed steps:
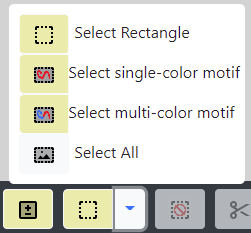
Click the blue arrow next to the select button on the bottom toolbar. A popup will come up.
Then, select the Select All option from the selection popup.
The Select All button will become the default button on the bottom toolbar, so the next time you can just select it there, without needing to bring up the popup.
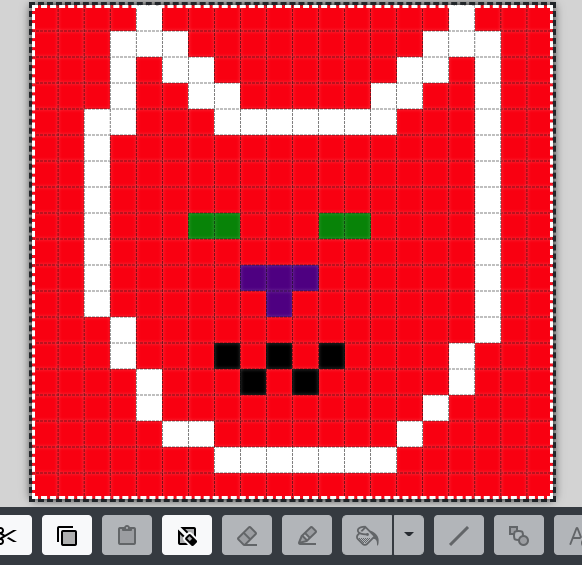
Select all will put a selection rectangle around the entire drawing.
Click the clear all button at this point to clear the picture without affecting the project name.
The clear will be done with the background color. If you have changed it to a color other than red, it will clear with that color!
This clear can be undone by clicking the undo button on the top toolbar.
Discarding with Browser Refresh
You can also discard all changes, at any time; just click the browser’s refresh button to return to the default project. You will see a browser warning popup, if there are changes to save. If there are changes you wish to keep, you can select Project -> Save from the top toolbar to save your changes.
Continue Reading
Continue reading with Drawing Tools – Part 2, Line and Shape Tools.